This guide will help you get started with Patient Ally. It shows the process on a smaller screen such as a smartphone. We also have a guide with images of the process on a larger screen such as a desktop, laptop, or tablet.
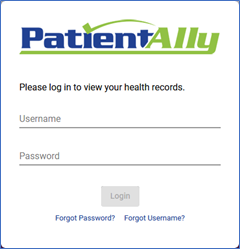
You will receive an email from “noreply@patientally.com”. Tap the “Register for Patient Ally” button to start the registration process.
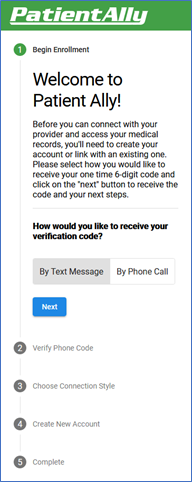
Enrollment opens in a web browser. Follow the prompts to create an account. IMPORTANT: Your email address and phone number must match those you provided to us on our website. When prompted for a date of birth at this step, use your date of birth (because it prohibits children from registering for Patient Ally).
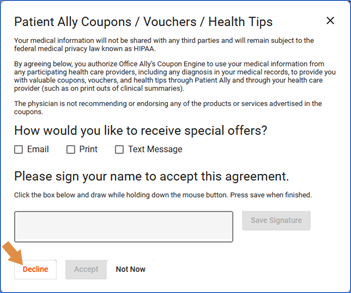
The first time, Patient Ally will offer you “coupons / vouchers / health tips”. You are not required to accept these and we do not endorse or recommend any coupons / vouchers / health tips you may receive if you accept. You may click “Decline”.
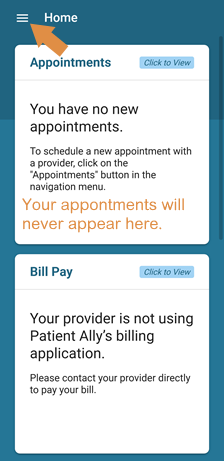
Tap the menu icon. Please note that we do not use the appointments, lab results, and messages features of Patient Ally. Please use Patient Gateway for these.
In the menu, tap “Documents”.
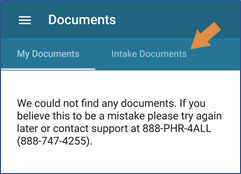
In “Documents”, tap “Intake Documents”.
Each form to complete will be listed here. Tap on each line in the list and then complete the form that opens. New patients will have three forms. Current patients will have only two forms which we will ask you to sign about once per year.
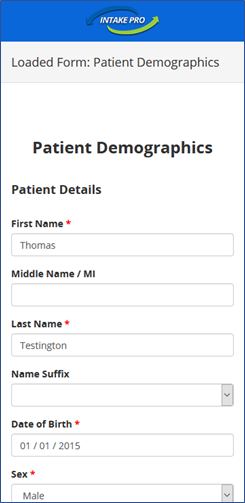
One of the forms. When a signature is required, the parent / guardian should sign, not the patient. IMPORTANT: The date of birth here should be your child’s, not your own.
After you have completed all forms in the list, you are done! If you are a new patient, then you can go on to step 5 in this list.